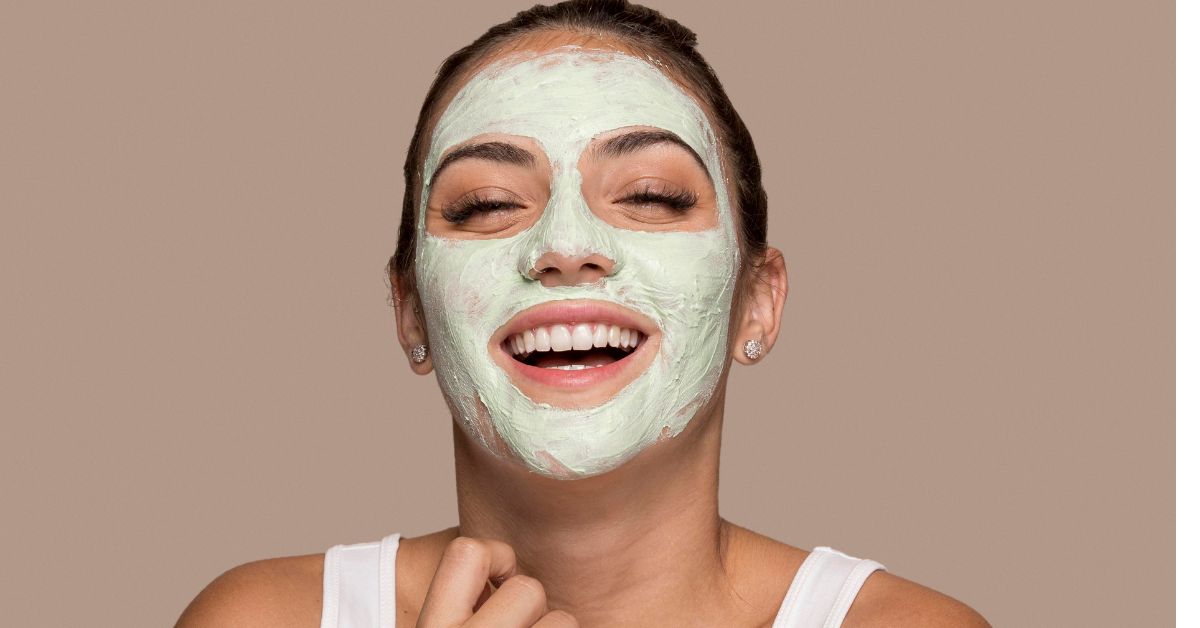
The facial treatment offers a ton of benefits for your skin, helping it stay youthful and radiant. But let’s be real—when it comes to skincare, we often have to open our wallets.
Just because a facial comes with a hefty price tag doesn’t mean it’s the best option out there. You can actually get salon-quality results right at home without shelling out extra cash for a professional treatment.
Treat yourself to a relaxing facial at home by following these easy, step-by-step instructions—the secret is in doing it just right. Stick to this guide for the best outcome!
1. Cleansing:
Clean all your makeup first. When it comes to caring for dry or sensitive skin, opt for gentle cleansers that won’t strip away moisture. If you have oily or combination skin, gel or foaming cleansers can work wonders.
2. Steaming:
Boil water in a pot and add essential oils like lavender or tea tree oil for additional benefits. Then lean over the rising steam and cover your head with a towel. Steam your face for about five minutes.
Facial steaming opens up your pores and gets the skin ready for extractions. Extractions should only be performed on blackheads using a sterilized extraction tool. Be gentle, and avoid applying too much pressure, as this can damage your skin.
Steaming is especially beneficial for oily and combination skin types, as it helps open pores and remove excess oil. For sensitive or dry skin, limit steaming to 2–3 minutes or avoid it altogether to prevent irritation or dryness.
3. Exfoliate:
Exfoliation is essential to remove dry and dead skin cells from the surface of your skin. Squeeze a little amount of the scrub, gently rub in circular motions over your face and neck, and be cautious around the eye area.
Use a mild exfoliating scrub or enzyme-based exfoliant for dry/sensitive skin. Avoid physical scrubs if prone to redness, acne, or rosacea.
4. Massage:
Massaging your face increases blood circulation, reduces signs of aging, removes toxins, and gives you a natural glow. Apply a hydrating cream or facial oil and spread it on your face and neck area. Use your fingers to massage your face in gentle circular motions.
Consider using a jade roller or metal facial roller for better blood circulation and lymphatic drainage.
Make sure to choose a non-comedogenic oil or cream that suits your skin type. If you’re on the oily or acne-prone side, lightweight, gel-based creams are a safer choice.
5. Face pack:
Face packs provide a natural glow to the skin and bring down spots and blemishes. Choose a mask that suits your skin type and apply an even layer, avoiding the eye and lip area. After that, leave the face pack on for 10-15 minutes, rinse off with water, rub gently, move your fingers in tiny circular motions, and then wash it off thoroughly.
For those dealing with oily or acne-prone skin, clay or charcoal masks are your best bet, while cream-based or hydrating masks are perfect for dry or sensitive skin types.
6. Toning:
Toner shrinks pores, refreshes the skin, and adds a layer of protection. Put a few drops of toner, moisten the cotton pad, and gently spread it over your entire face. You can also use rose water instead of using chemical-based toners and it’s best to avoid alcohol-based toners, as they can dry out the skin.
Rosewater is a natural toner, and it helps eliminate dirt, impurities from your face, and protects the skin from cell damage.
Rose water or aloe-based toners are gentle enough for all skin types.
7. Sheet Mask:
Sheet mask intensely moisturize your face and gives your skin an instant glow. Choose a hydrating or brightening sheet mask, place it over the face and leave it on for 15-20 minutes. Pat in the excess serum—no need to rinse!
For dry or sensitive skin, look for masks that are labeled “hydrating” or “calming.” If you have oily skin, steer clear of overly rich or sticky serums.
8. Eye cream:
Eye cream is safe and beneficial for everyone. Using your ring finger, apply multiple tiny dots around the under-eye area. Gently pat the product in never, rub, as the skin around eyes is delicate. Don’t use the face cream on eyes, as the eye area deserves special care & attention.
9. Moisturizer:
Spread the moisturizer evenly on the entire face. Use upward, circular direction when applying the moisturizer & do not forget your neck area. Moisturizer lessens the presence of skin blemishes, wrinkles, and also help keep your skin hydrated for a long time.
A gel-based moisturizer is ideal for oily skin, while cream-based options work best for dry skin. If you have sensitive skin, always go for non-comedogenic and fragrance-free products.
At least for 3-4 hours, avoid washing your face with water to let the products fully absorb.
This facial routine is generally suitable for most skin types, but don’t hesitate to tweak the products or skip steps like steaming or exfoliation if your skin is feeling sensitive.
Following these at-home facial steps helps maintain hydration, reduce fine lines, and lock in all the skincare benefits. Make at-home facials a regular part of your self-care routine for healthy, youthful skin!

